Artificial Tree Set Up Guide
Assembly Instruction
1. Before you start to assemble your tree, choose an appropriate location near a wall outlet.
2. Assemble the tree stand and place on a level surface.

3. Assemble the tree from the bottom to the top. Start with the bottom section and insert it into the assembled stand. Make sure the pole is firmly inserted and secured into the stand.

4. Continue by inserting the middle section(s) into the bottom section until the tree top is inserted.

5. Allow branches to fall into place or gently pull up and out. When adjusting branches, be sure that all wires are free of branch hinges.

6. Begin to shape the branches and tips working from the bottom to the top. Start with tips farthest from the pole and fan out one to the right, one to the left and one at the center of the main stem.

7. After shaping the entire tree following the previous step, slightly upsweep all branch tips for a uniform look. Shift branches to fill any gaps. Your Christmas tree is now complete and ready to be decorated.

PRO TIPS: Wear long sleeve and put your gloves on before start fluffing the tree.
STORAGE INSTRUCTIONS
1. Remove all ornaments and decorations.
2. Disassemble the tree from the top to the bottom. Start with the tree top and gently lift straight up to remove from section below and fold all branches toward the pole.
3. Continue by gently lifting straight up each section(s) from the section below and fold all branches toward the pole until the bottom section is removed from the tree stand.
4. Carefully place all tree sections into shipping box and tape it shut.
5. When not in use, please store your tree in a cool, dry place away from sunlight. Exposing your tree to excessive heat or humidity may damage your tree.
Where every tree sparkles with a little North Pole magic.
🎁 Find Your Perfect Christmas Tree


Discover the newest treasures from the North Pole.
Fresh from Santa’s Workshop


Explore every piece of Christmas magic in one place.
Santa’s Full Workshop Collection


✨ Magical finds at merry prices.
Santa’s Clearance Corner


Explore Our Collection of Christmas Ornaments for Every Tree!
UP to 50% OFF


Ornaments, Lights and Magic—Right at Your Fingertips!
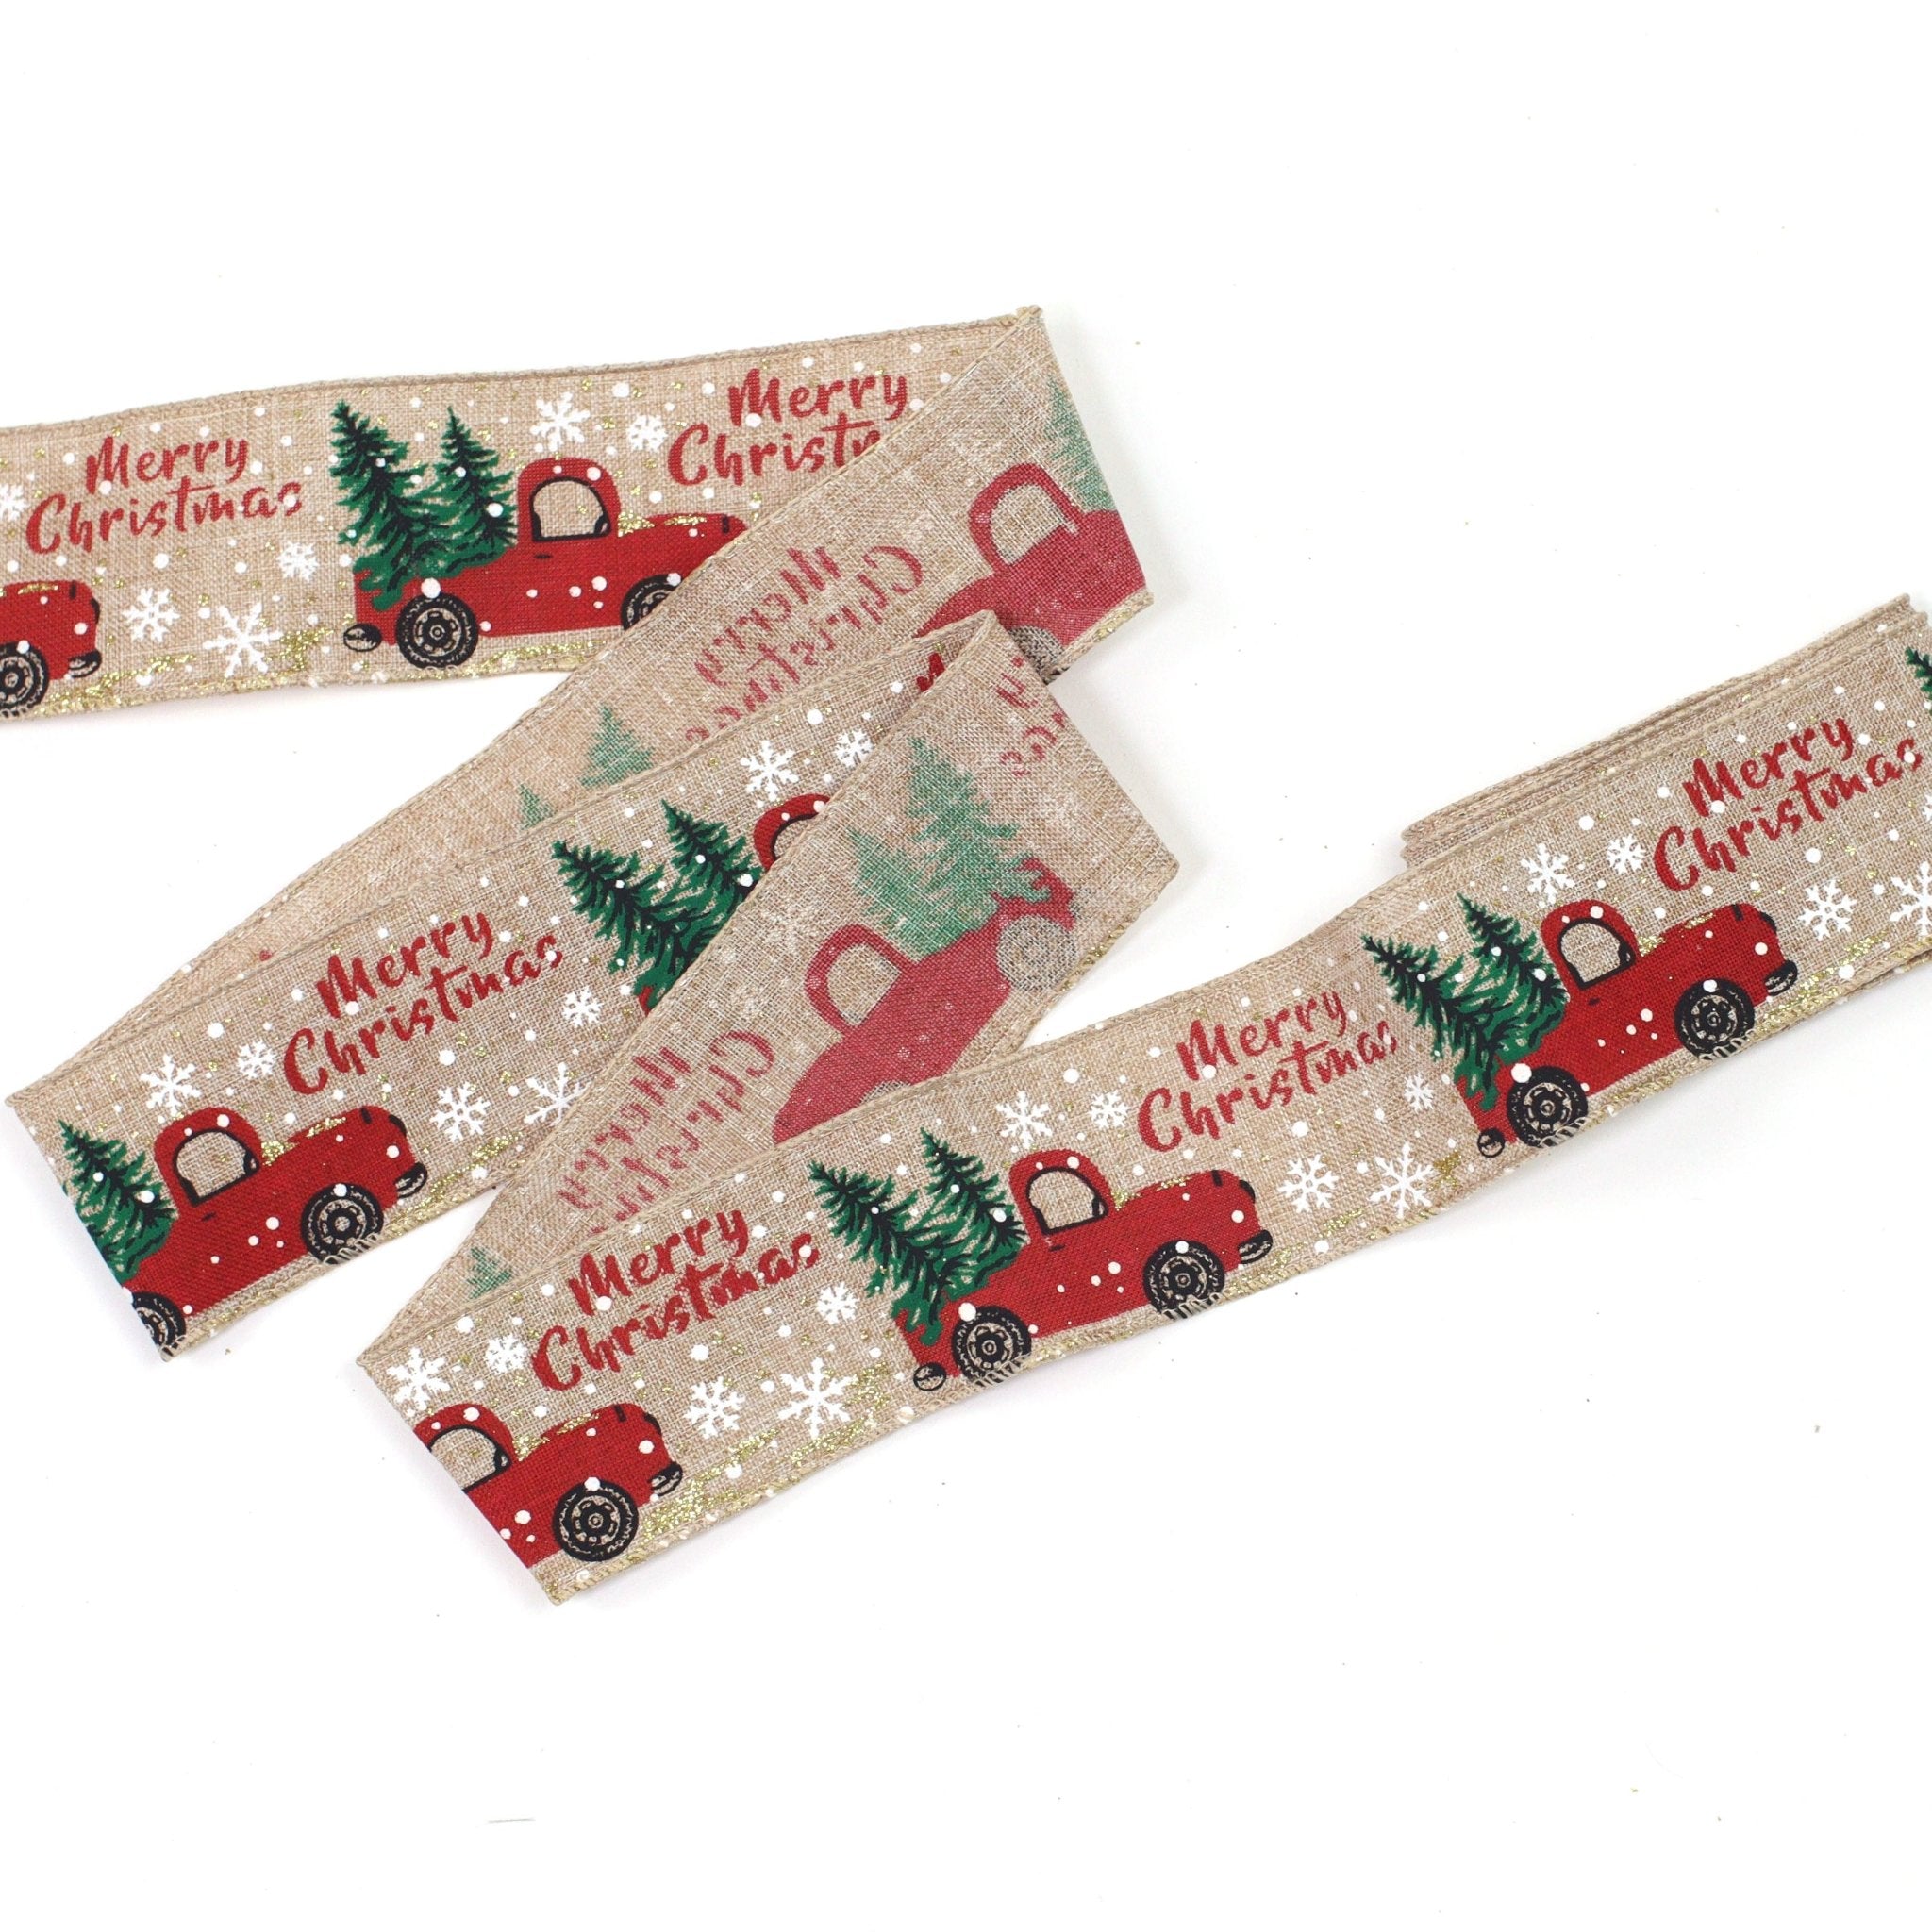
Festive Christmas Ribbon – The Perfect Holiday Touch!
Christmas Ribbons


Make it Yours: Personalized Christmas Gifts for a Unique Holiday!
ONE DAY PRODUCTION TIME


Deck the Halls with Christmas Signs
Christmas Sign


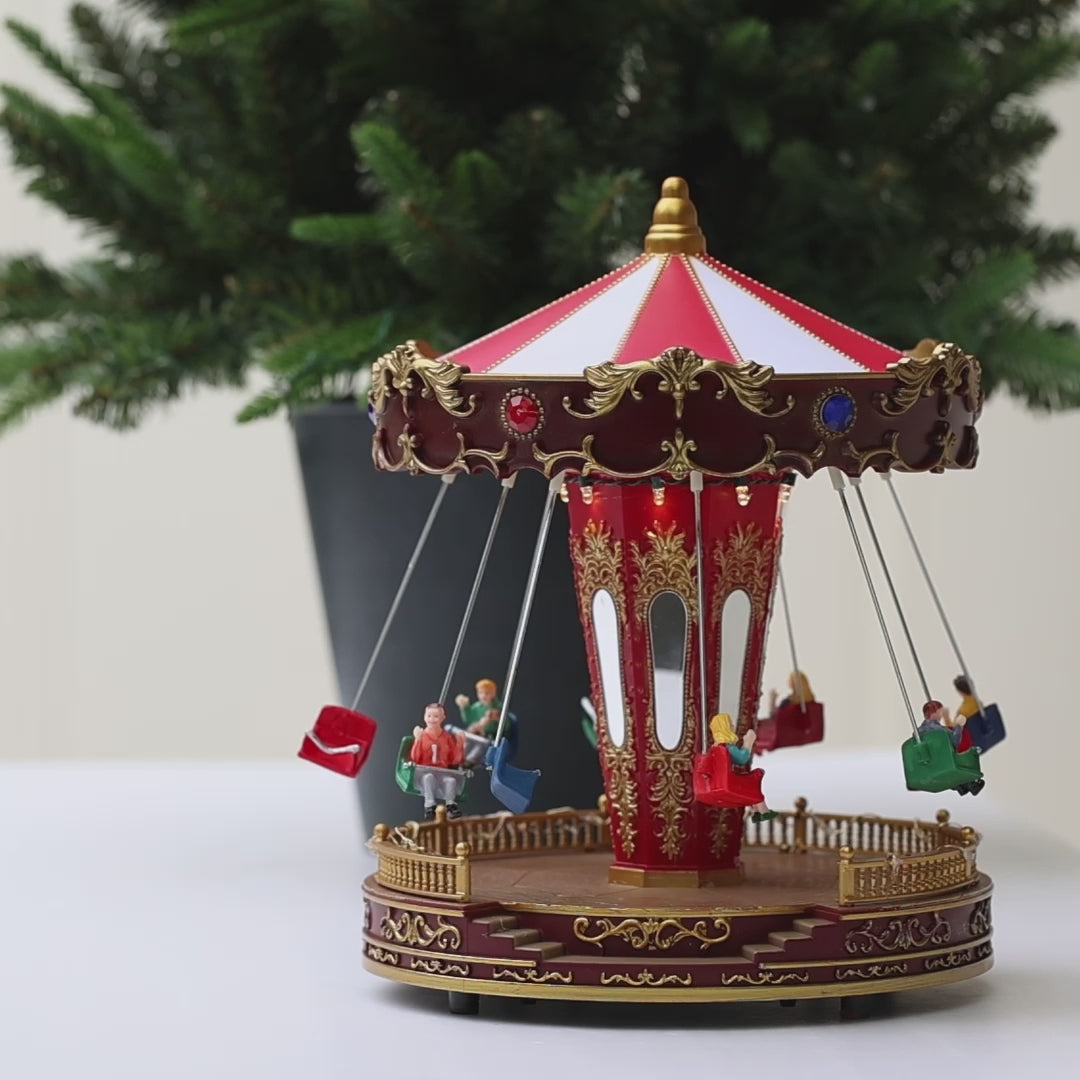
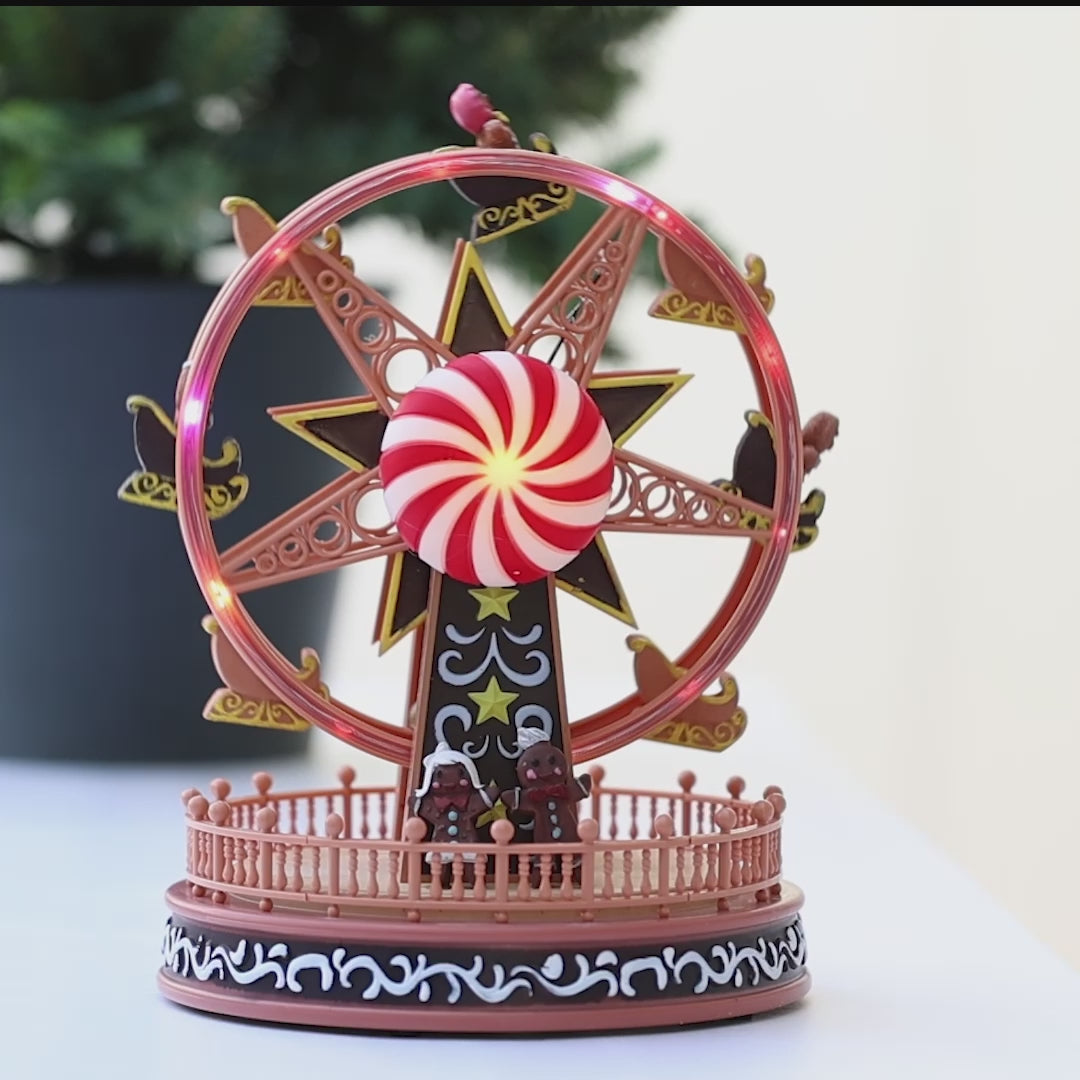
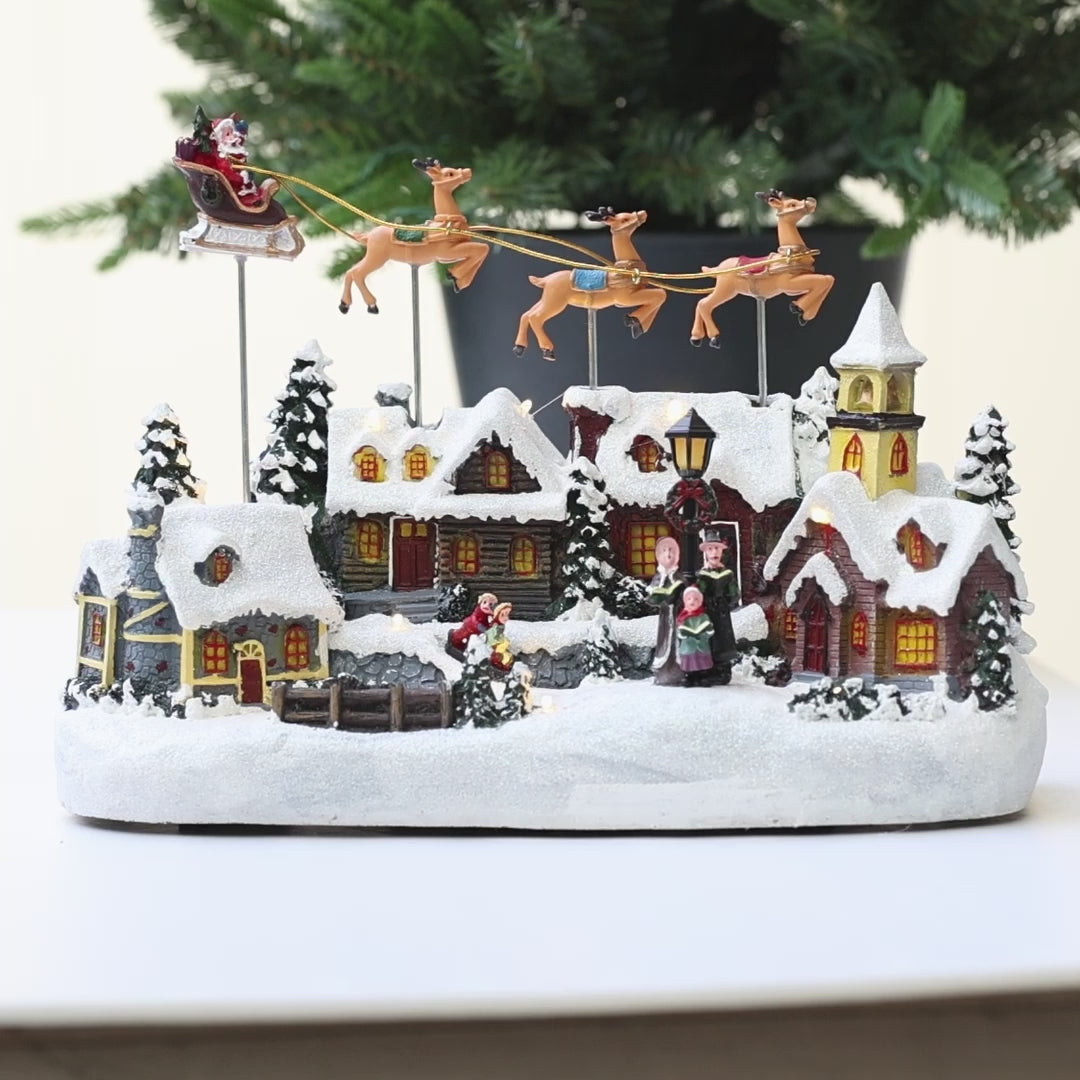
Create Magic with a Christmas Village Display
Christmas Village


Brighten the Season with Christmas Lighting!
✨ Christmas Lighting Collection


Complete Your Decor with Christmas Picks
Christmas Picks


Crown Your Tree with a Stunning Topper
Christmas Tree Topper


Finish Your Tree with a Stylish Skirt
Christmas Tree Skirt


Add Magic with Holiday Gnomes!
Christmas Gnomes


Featured collection
Garlands and Wreaths


Festive Fun with Christmas Crackers
🎉 Christmas Crackers Collection


Stock Up on Christmas Essentials


Gifts and Surprises
Holiday Joy for Kids


Stories, secrets, and festive cheer — straight from the North Pole.
🎅 Santa's Believer's News

We extend our deepest appreciation to the firefighters who continue to risk their lives, the medical teams working tirelessly, the first responders and volunteers offering help wherever it’s needed...
Read more
🎁 The Magic of Personalised Ornaments
“When your name glows on the tree, you’re part of Christmas forever.” Ho ho ho! My dear believers, gather ‘round the tree and listen closely, for I have a little secret to share from my Workshop at...
Read more
🦌 The Reindeer Who Fly the Night Sky
“Eight tiny reindeer — plus one very shiny-nosed hero.” Ho ho ho! My dear believers, every Christmas Eve, as the stars sparkle above and snowflakes dance through the air, there’s one sound that tel...
Read more