Create your miniature Christmas Village! - Steps to create your dream village
Ever want to try to create your own Christmas Village at home but don’t know where to start? Here are some guidelines
Step by step
Step 1: Find out the size of the area you would like to create your village in. It can be a cupboard, a table or a DIY space with crates and books. As long as they are flat surfaces you can create your own unique village!
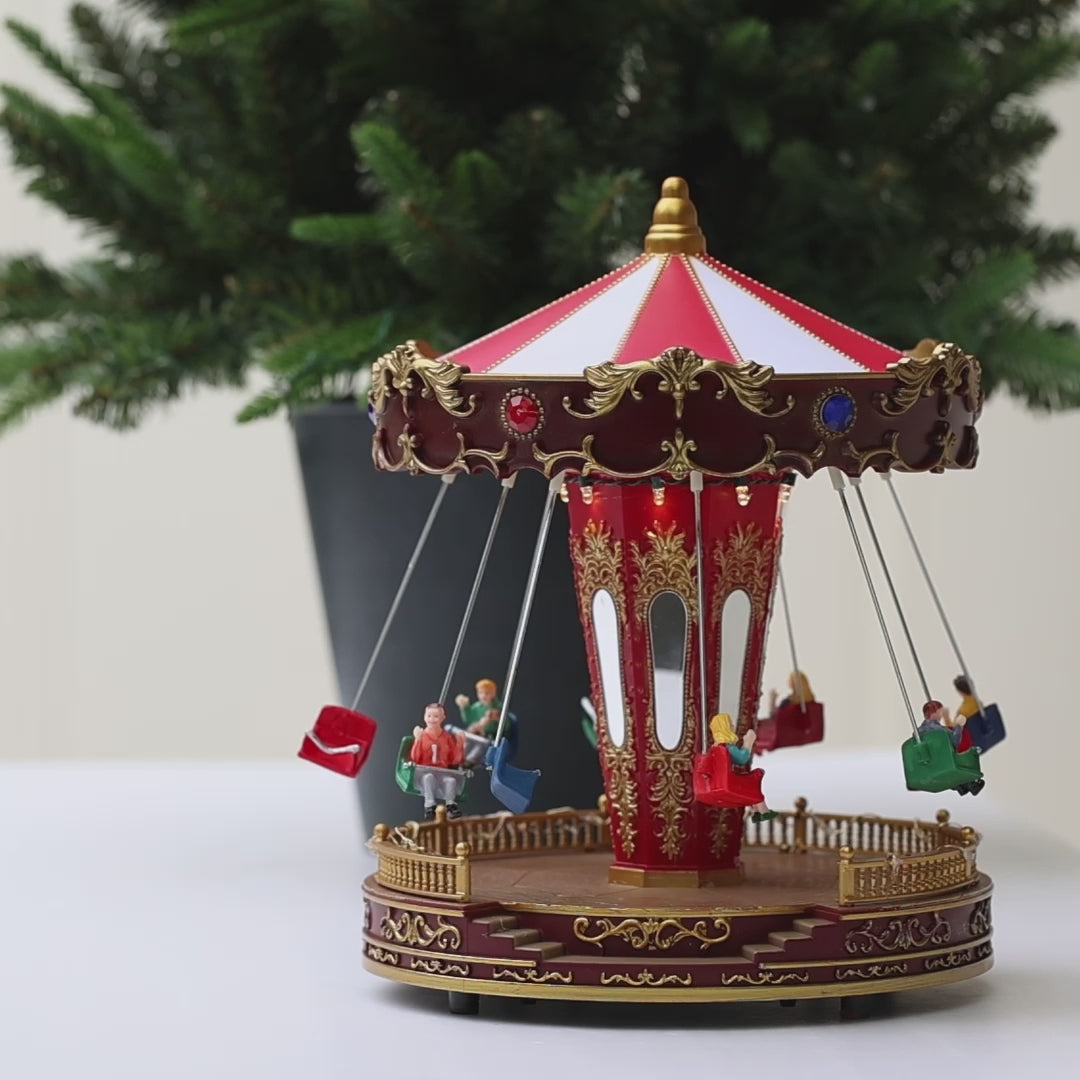
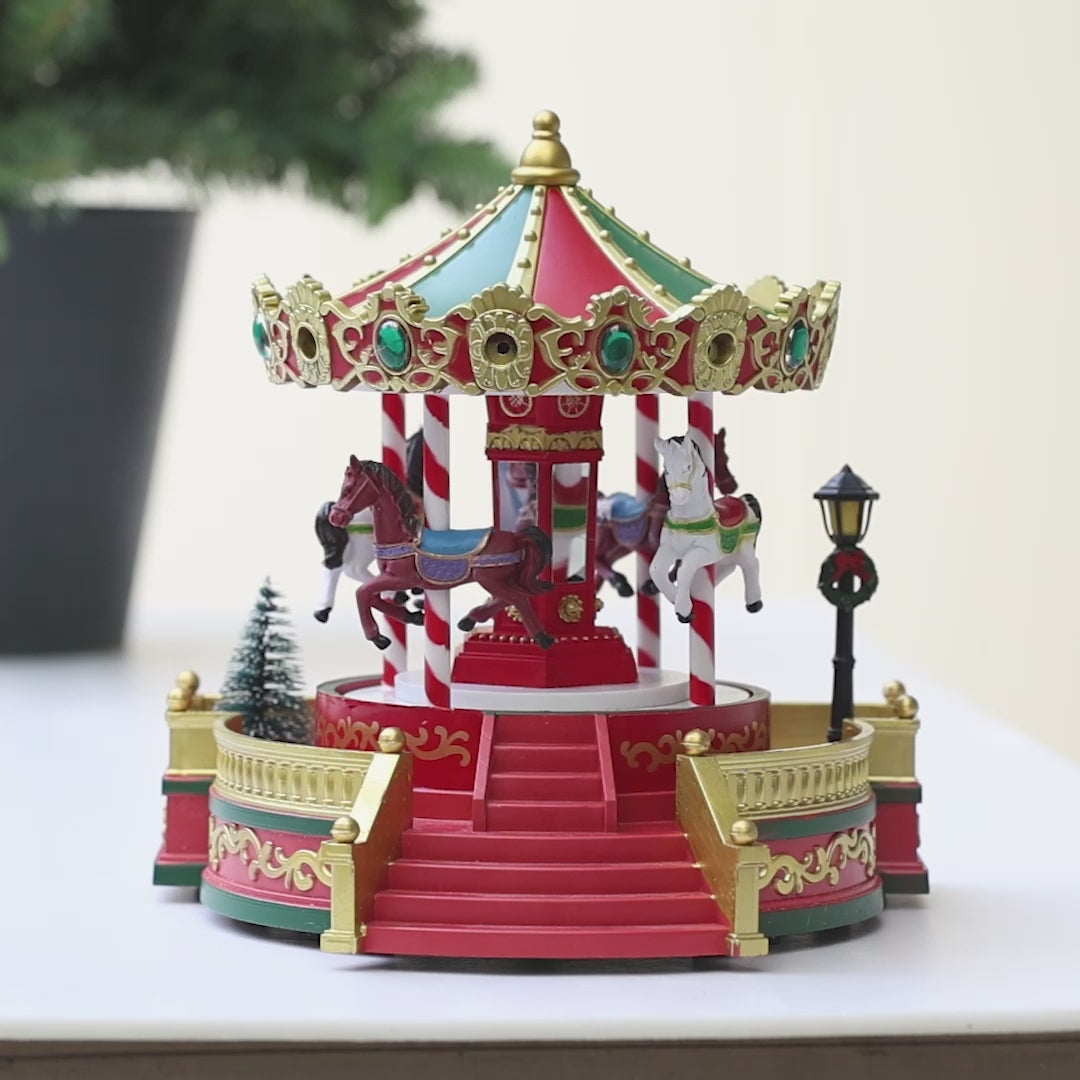
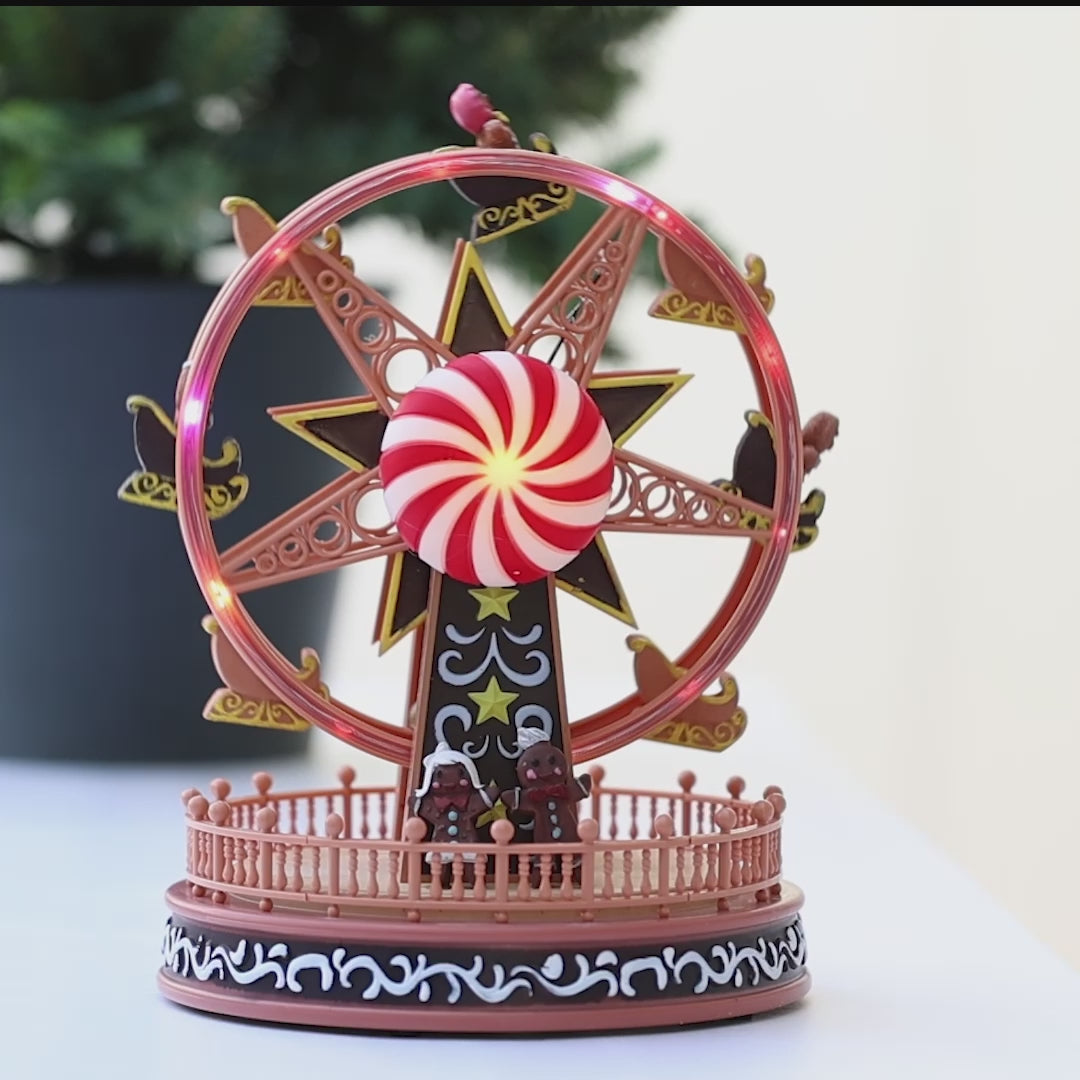
Step 2: Think of the key buildings or spots of your village and estimate the amount of space they require. For example a water fountain, train station or ferris wheel that takes up more space and generally has more people around.
Step 3 : Layout the height of the surfaces. Do you wish to create some depth or height differences to your village? Lay some books or blocks where you want to create a little hill for your house to sit on.
Step 4 : Apply the layer of snow on the surface that you arranged. The base layer can be a piece of white cloth or faux fur.
Step 5: Place all the large building blocks for your village with some space in between (especially if you want a polar express inside your village), work out the direction it’s facing (are they all facing the same way or slightly away from each other?)
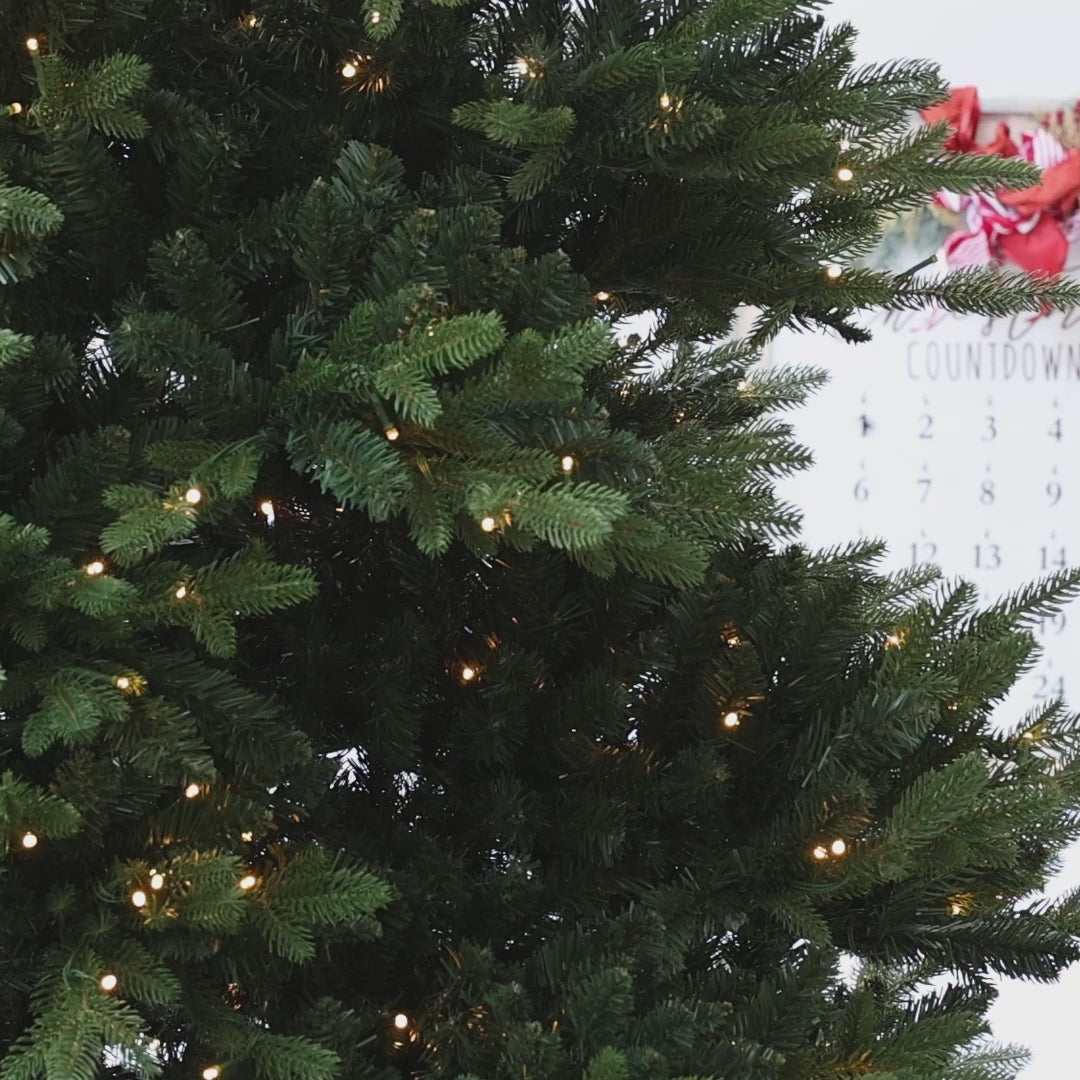
Step 6: Now place different sizes trees next to the buildings you have placed. This makes your village more realistic.
Step 7: You can also add white foam, or faux snow to add more depth to your white base so that it’s not only a white surface.
Step 8: Add little humans or even pets to your village, they can be of specific character for instance postmen/ Santa Claus / Train conductor - now your village comes to life!
If you’re looking for things to add to your Christmas village, we have it here at Moda Flora:
BUILD YOUR OWN
Christmas Village


Where every tree sparkles with a little North Pole magic.
🎁 Find Your Perfect Christmas Tree


Discover the newest treasures from the North Pole.
Fresh from Santa’s Workshop


Explore every piece of Christmas magic in one place.
Santa’s Full Workshop Collection


✨ Magical finds at merry prices.
Santa’s Clearance Corner


Explore Our Collection of Christmas Ornaments for Every Tree!
UP to 50% OFF


Ornaments, Lights and Magic—Right at Your Fingertips!
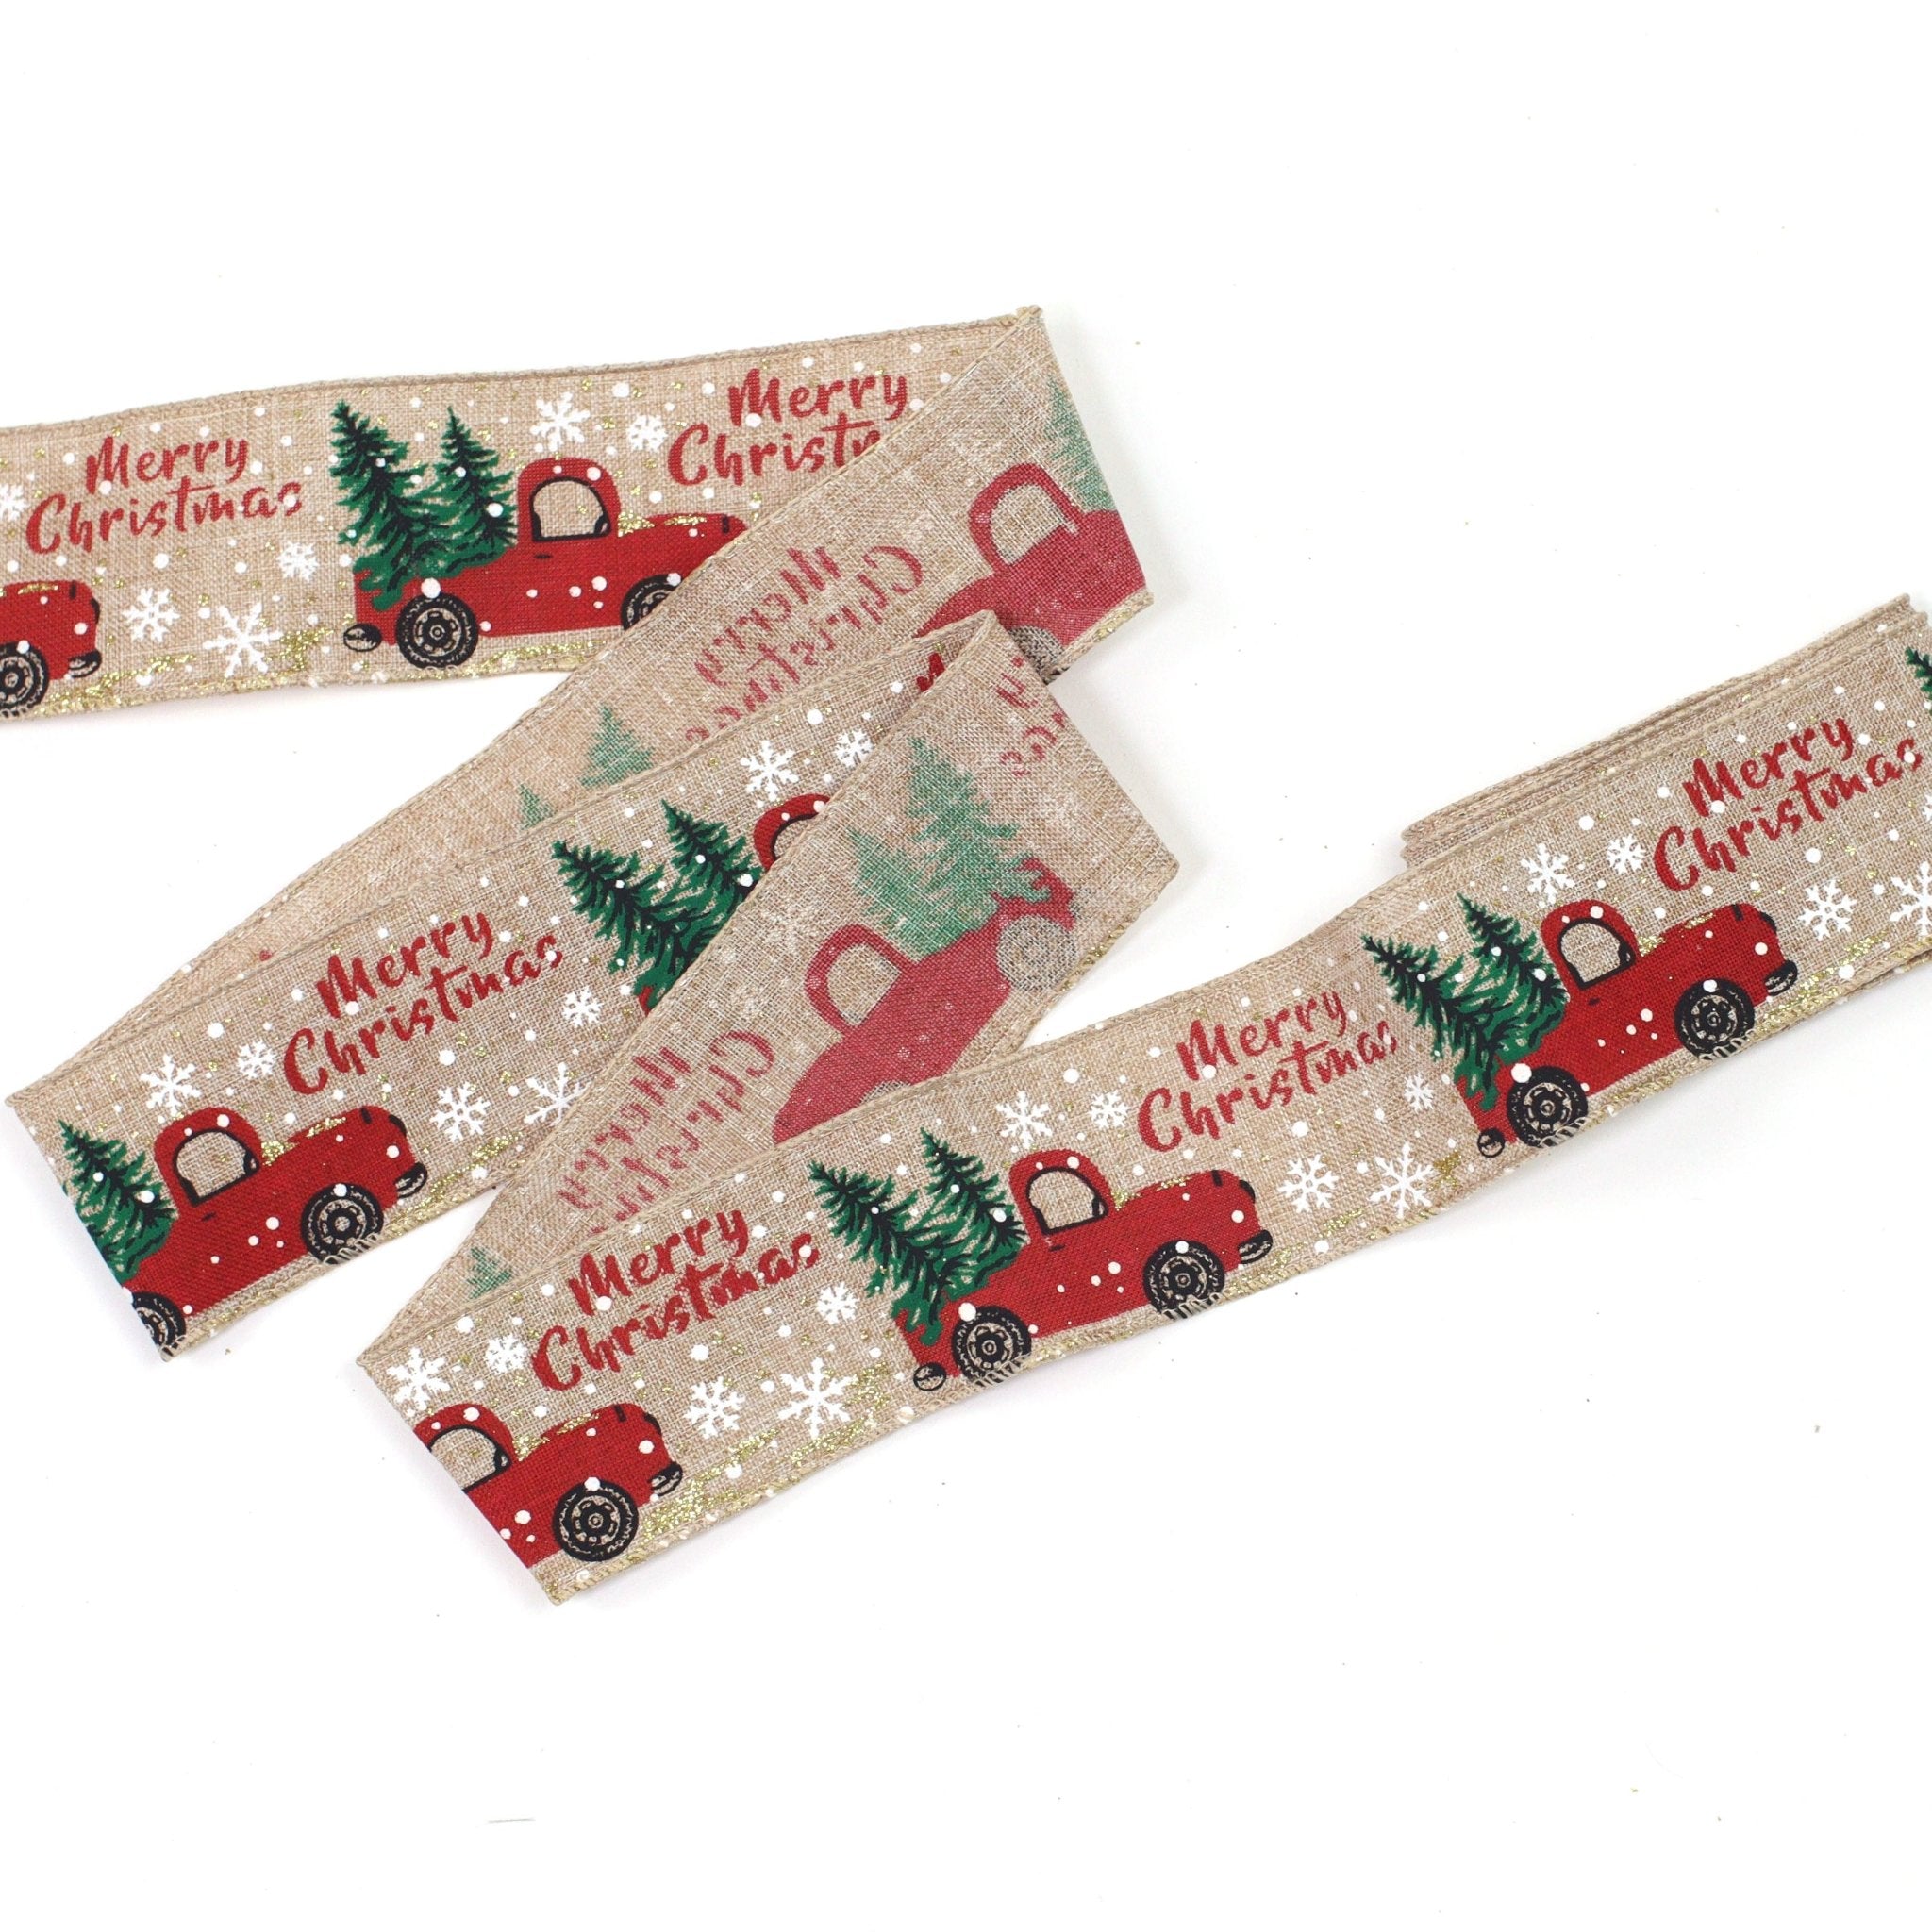
Festive Christmas Ribbon – The Perfect Holiday Touch!
Christmas Ribbons


Make it Yours: Personalized Christmas Gifts for a Unique Holiday!
ONE DAY PRODUCTION TIME


Deck the Halls with Christmas Signs
Christmas Sign


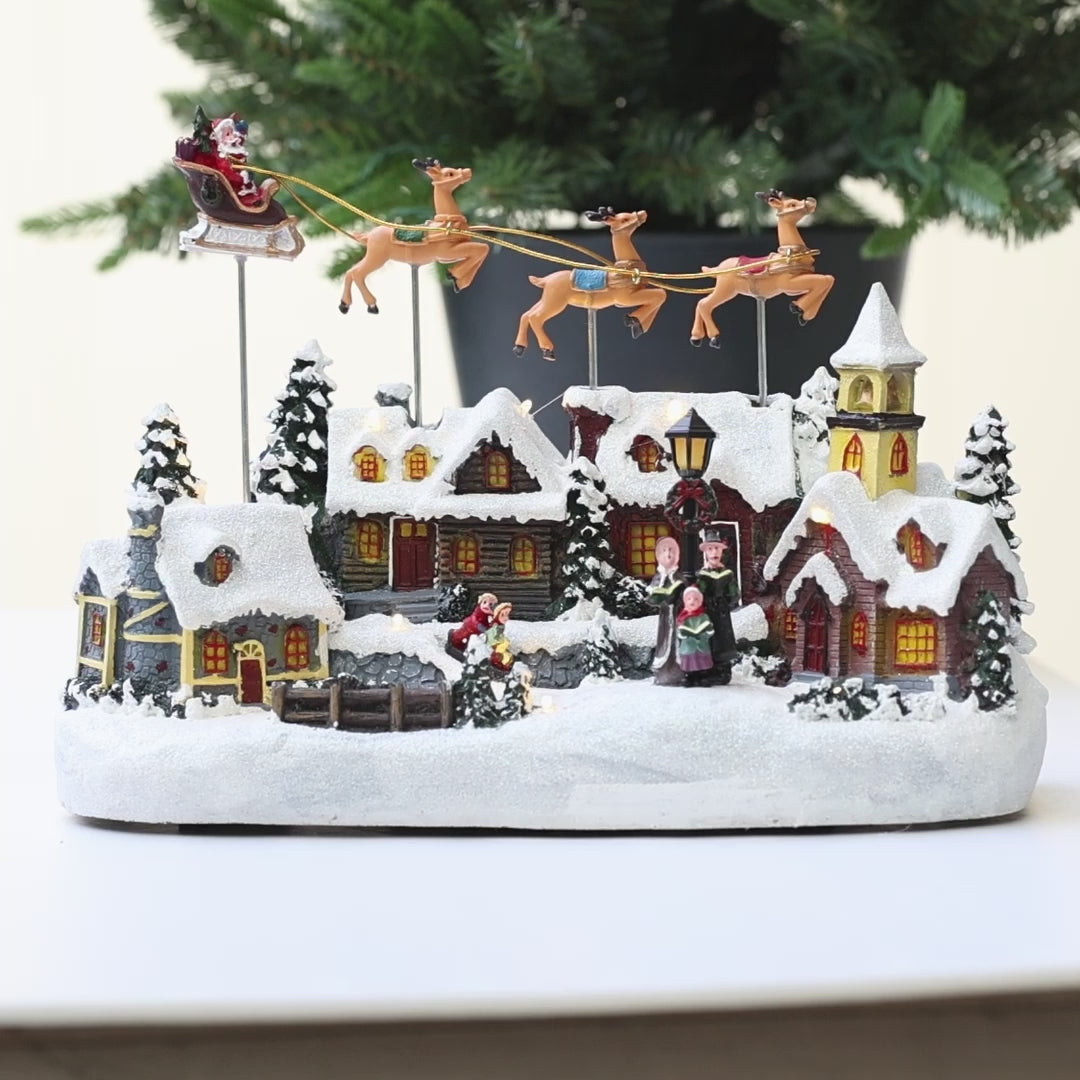
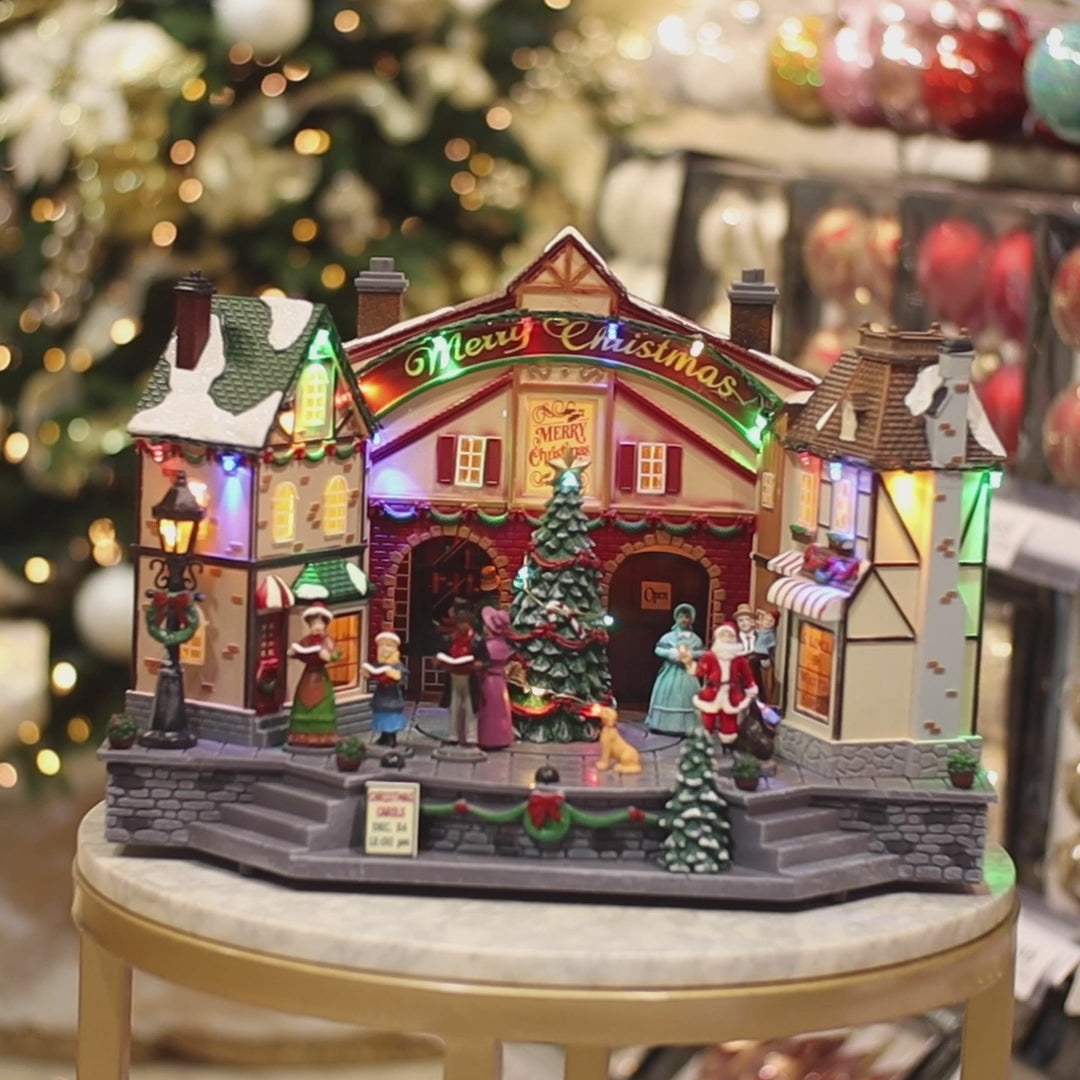
Create Magic with a Christmas Village Display
Christmas Village


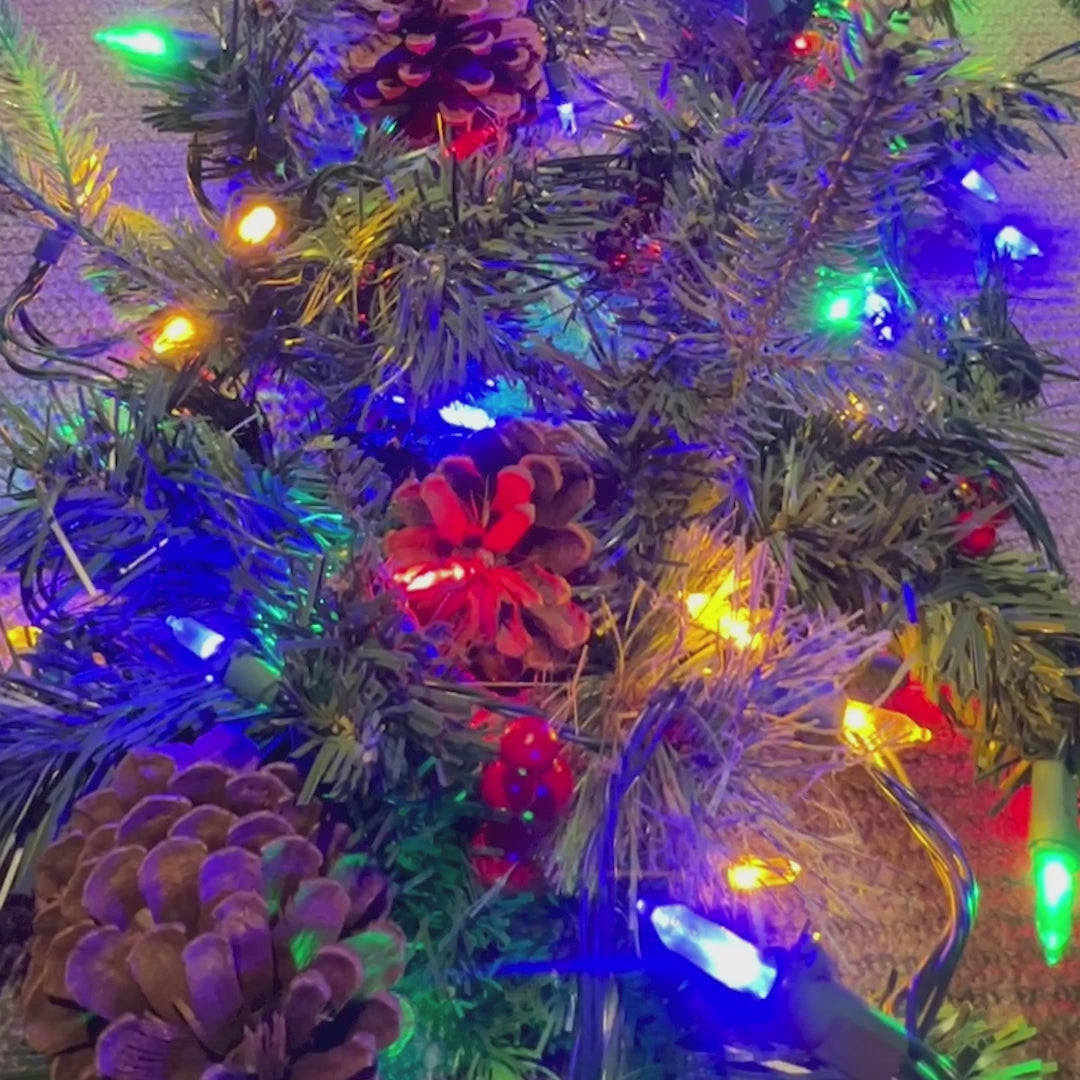
Brighten the Season with Christmas Lighting!
✨ Christmas Lighting Collection


Complete Your Decor with Christmas Picks
Christmas Picks


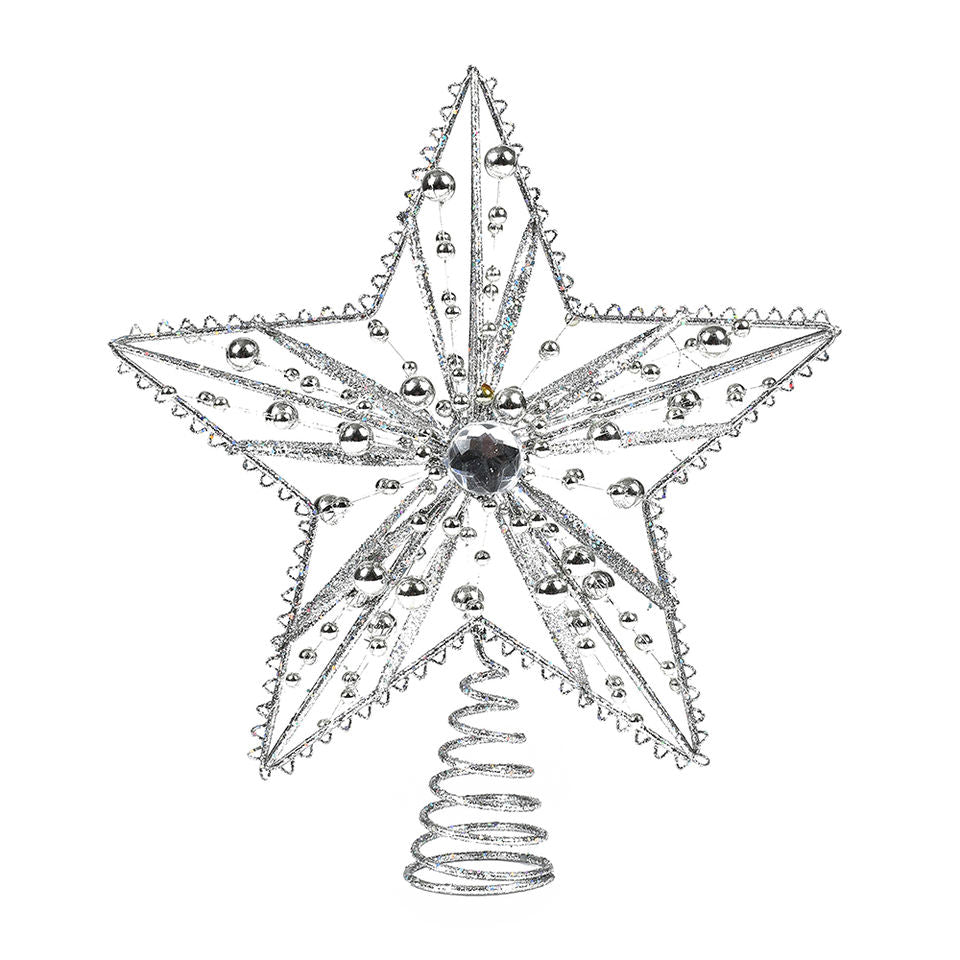
Crown Your Tree with a Stunning Topper
Christmas Tree Topper


Finish Your Tree with a Stylish Skirt
Christmas Tree Skirt


Add Magic with Holiday Gnomes!
Christmas Gnomes


Featured collection
Garlands and Wreaths


Festive Fun with Christmas Crackers
🎉 Christmas Crackers Collection


Stock Up on Christmas Essentials


Gifts and Surprises
Holiday Joy for Kids


Stories, secrets, and festive cheer — straight from the North Pole.
🎅 Santa's Believer's News

We extend our deepest appreciation to the firefighters who continue to risk their lives, the medical teams working tirelessly, the first responders and volunteers offering help wherever it’s needed...
Read more
🎁 The Magic of Personalised Ornaments
“When your name glows on the tree, you’re part of Christmas forever.” Ho ho ho! My dear believers, gather ‘round the tree and listen closely, for I have a little secret to share from my Workshop at...
Read more
🦌 The Reindeer Who Fly the Night Sky
“Eight tiny reindeer — plus one very shiny-nosed hero.” Ho ho ho! My dear believers, every Christmas Eve, as the stars sparkle above and snowflakes dance through the air, there’s one sound that tel...
Read more